
Choosing a style of model railroad benchwork can be overwhelming. There are so many different construction styles and techniques along with other deciding factors such as building a permanent structure or building the layout so it can be moved.
After building two other, permanently installed, versions of this railroad, I decided this time that a free-standing, modular design was in my best interest.
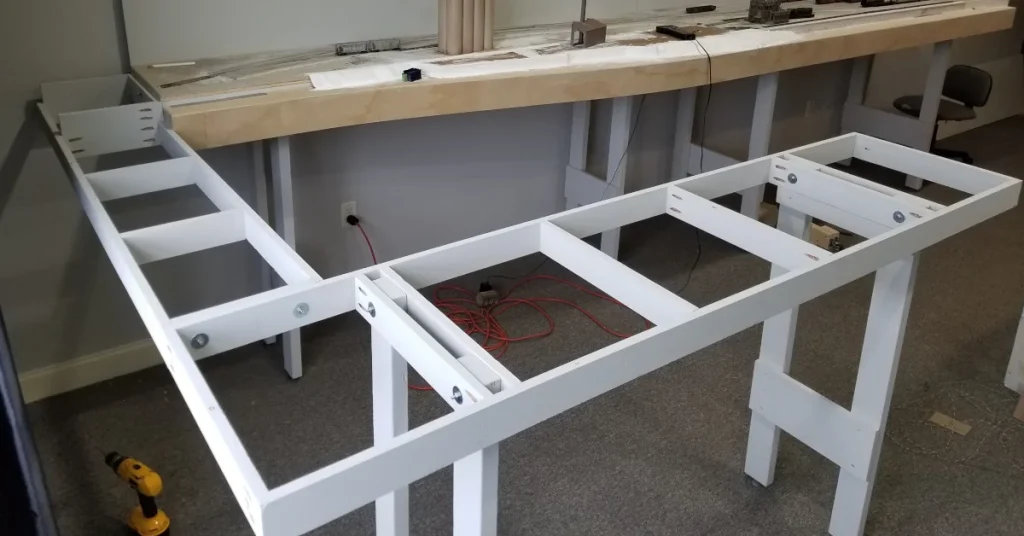
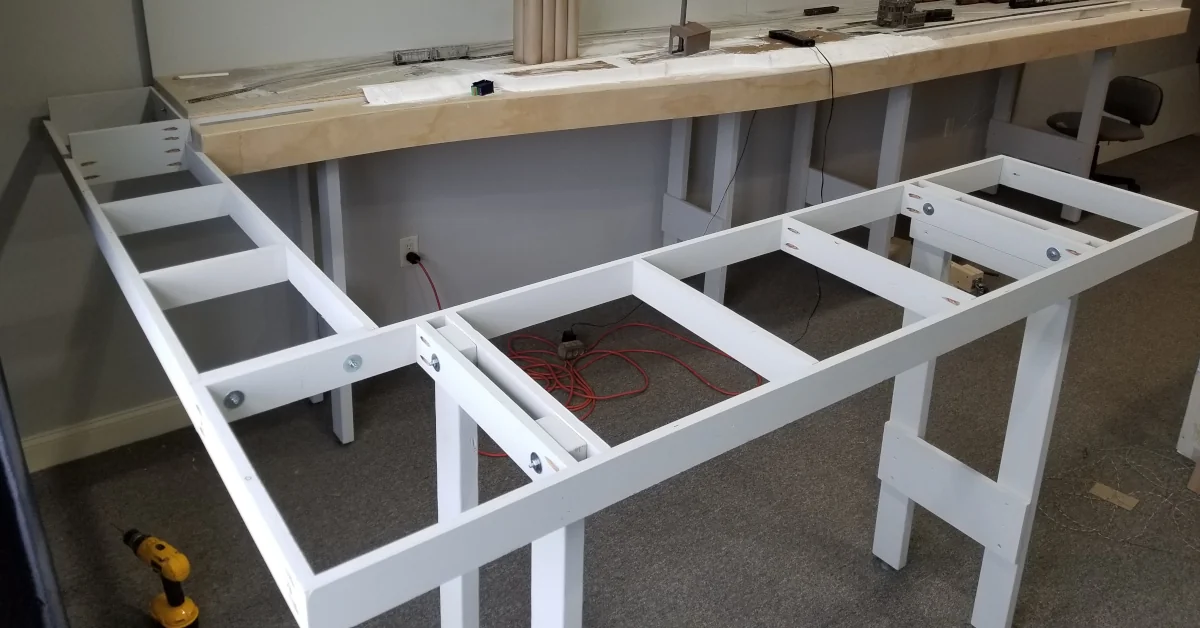
Because of the cost involved with procuring high-quality conventional lumber, such as clear pine 1×4, I decided to construct my benchwork from readily available 3/4″ inch birch plywood cut into 3″ inch strips. The curved section of the benchwork utilizes 1/4″ inch plywood or 3/16″ inch masonite depending on the severity of the curves. In most cases, the curved sections are laminated with two or more pieces.
Pocket screws facilitate the assembly of the benchwork. I like pocket screws because they are accessible from the back or underside of the layout. Over the years I have had to make a few changes and this type of construction simplified the modifications.
Modular Model Railroad Benchwork Made To Move

Legs are constructed out of low-cost, construction-grade 2×4’s. I used 7″ inch tall x 3/4″ inch thick plywood plates of various lengths to join the lower portions of the legs. At the top of the legs, I used 2″ inch x 3/4″ inch plywood strips. These strips support the modules during assembly before final bolting takes place.
The legs are sandwiched between cross members built into the modules and bolted in place with 1/4″ x 3-1/2″ inch bolts. This type of construction is very stable and cross-bracing wasn’t necessary in most cases.
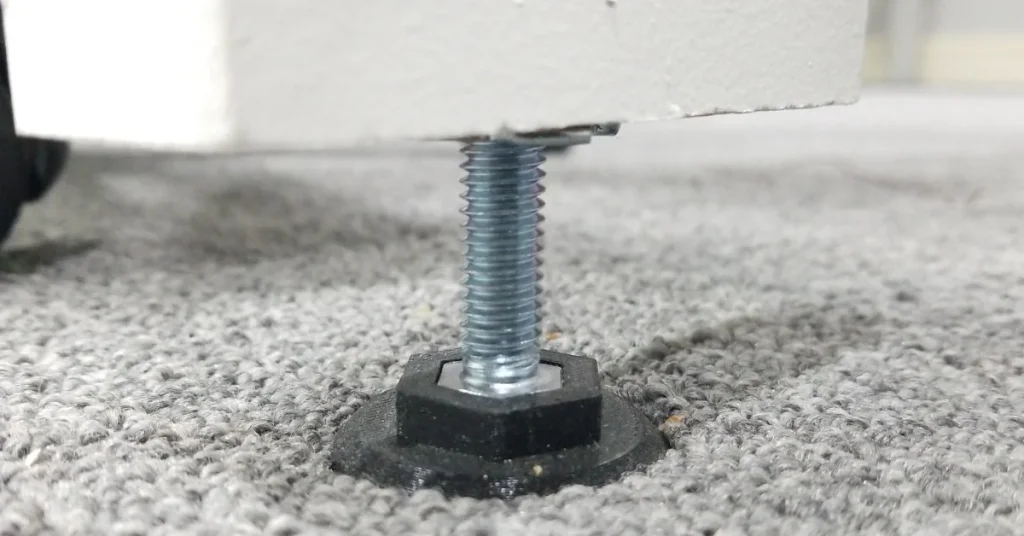
Height adjustment is provided by 3/8″ inch bolts and T nuts installed into the bottom of the legs. 3D-printed feet snap onto the bolt heads to spread out the weight over the office carpet.
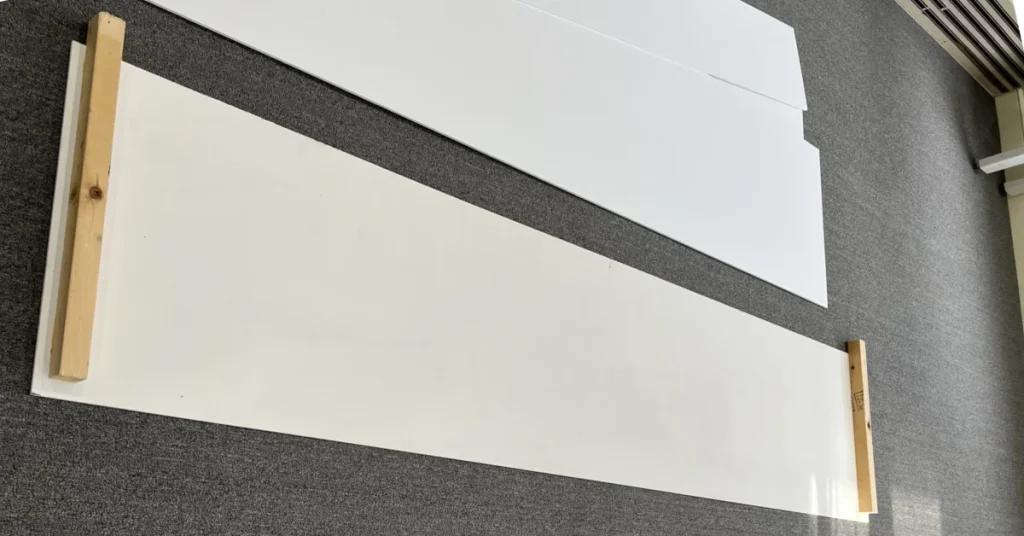
All benchwork parts are painted with latex paint. I chose to match the wall color because I didn’t want to install a skirt around the layout. Additionally, the light color made it much brighter under the layout when running wires, etc.
Assembly of the modules is pretty straightforward, I used 1/4″ bolts to join them together. I did not use any type of alignment pins because the modules will not be repeatedly disassembled and reassembled. The few times I have had them apart I was able to relalign the track and modules without issue.

Hopefully, this has inspired you to start your model railroad bench work. Until next time, happy modeling!
Leave a Reply